Arduino Zoom Box

In January of this year (2021) I had been working remotely for about 9 months, with hundreds of Zoom meetings. Zoom is powerful, with the ability to have global shortcuts to mute/un-mute and to turn your camera on and off. But I am lazy, and pressing the keyboard shortcut to do these actions was too much 😅 The Arduino Zoom Box was born.
Components
My Arduino Zoom Box contains the following:
Project Board
Arduino Pro Micro
A 7Seg Display
8 Tactile switch buttons
15 10k Ohms 1% resistors
Header pin sockets (optional but recommended)
Design
There were three main things I wanted my box to do; send a key combo based on a button press, have multiple folders for key shortcuts, display which folder I was on. Originally this was going to be inside an actually box, which is why you see the project board has been cut. Ultimately, I decided to take it out of the box and put it right on the desktop.
Here is my design:
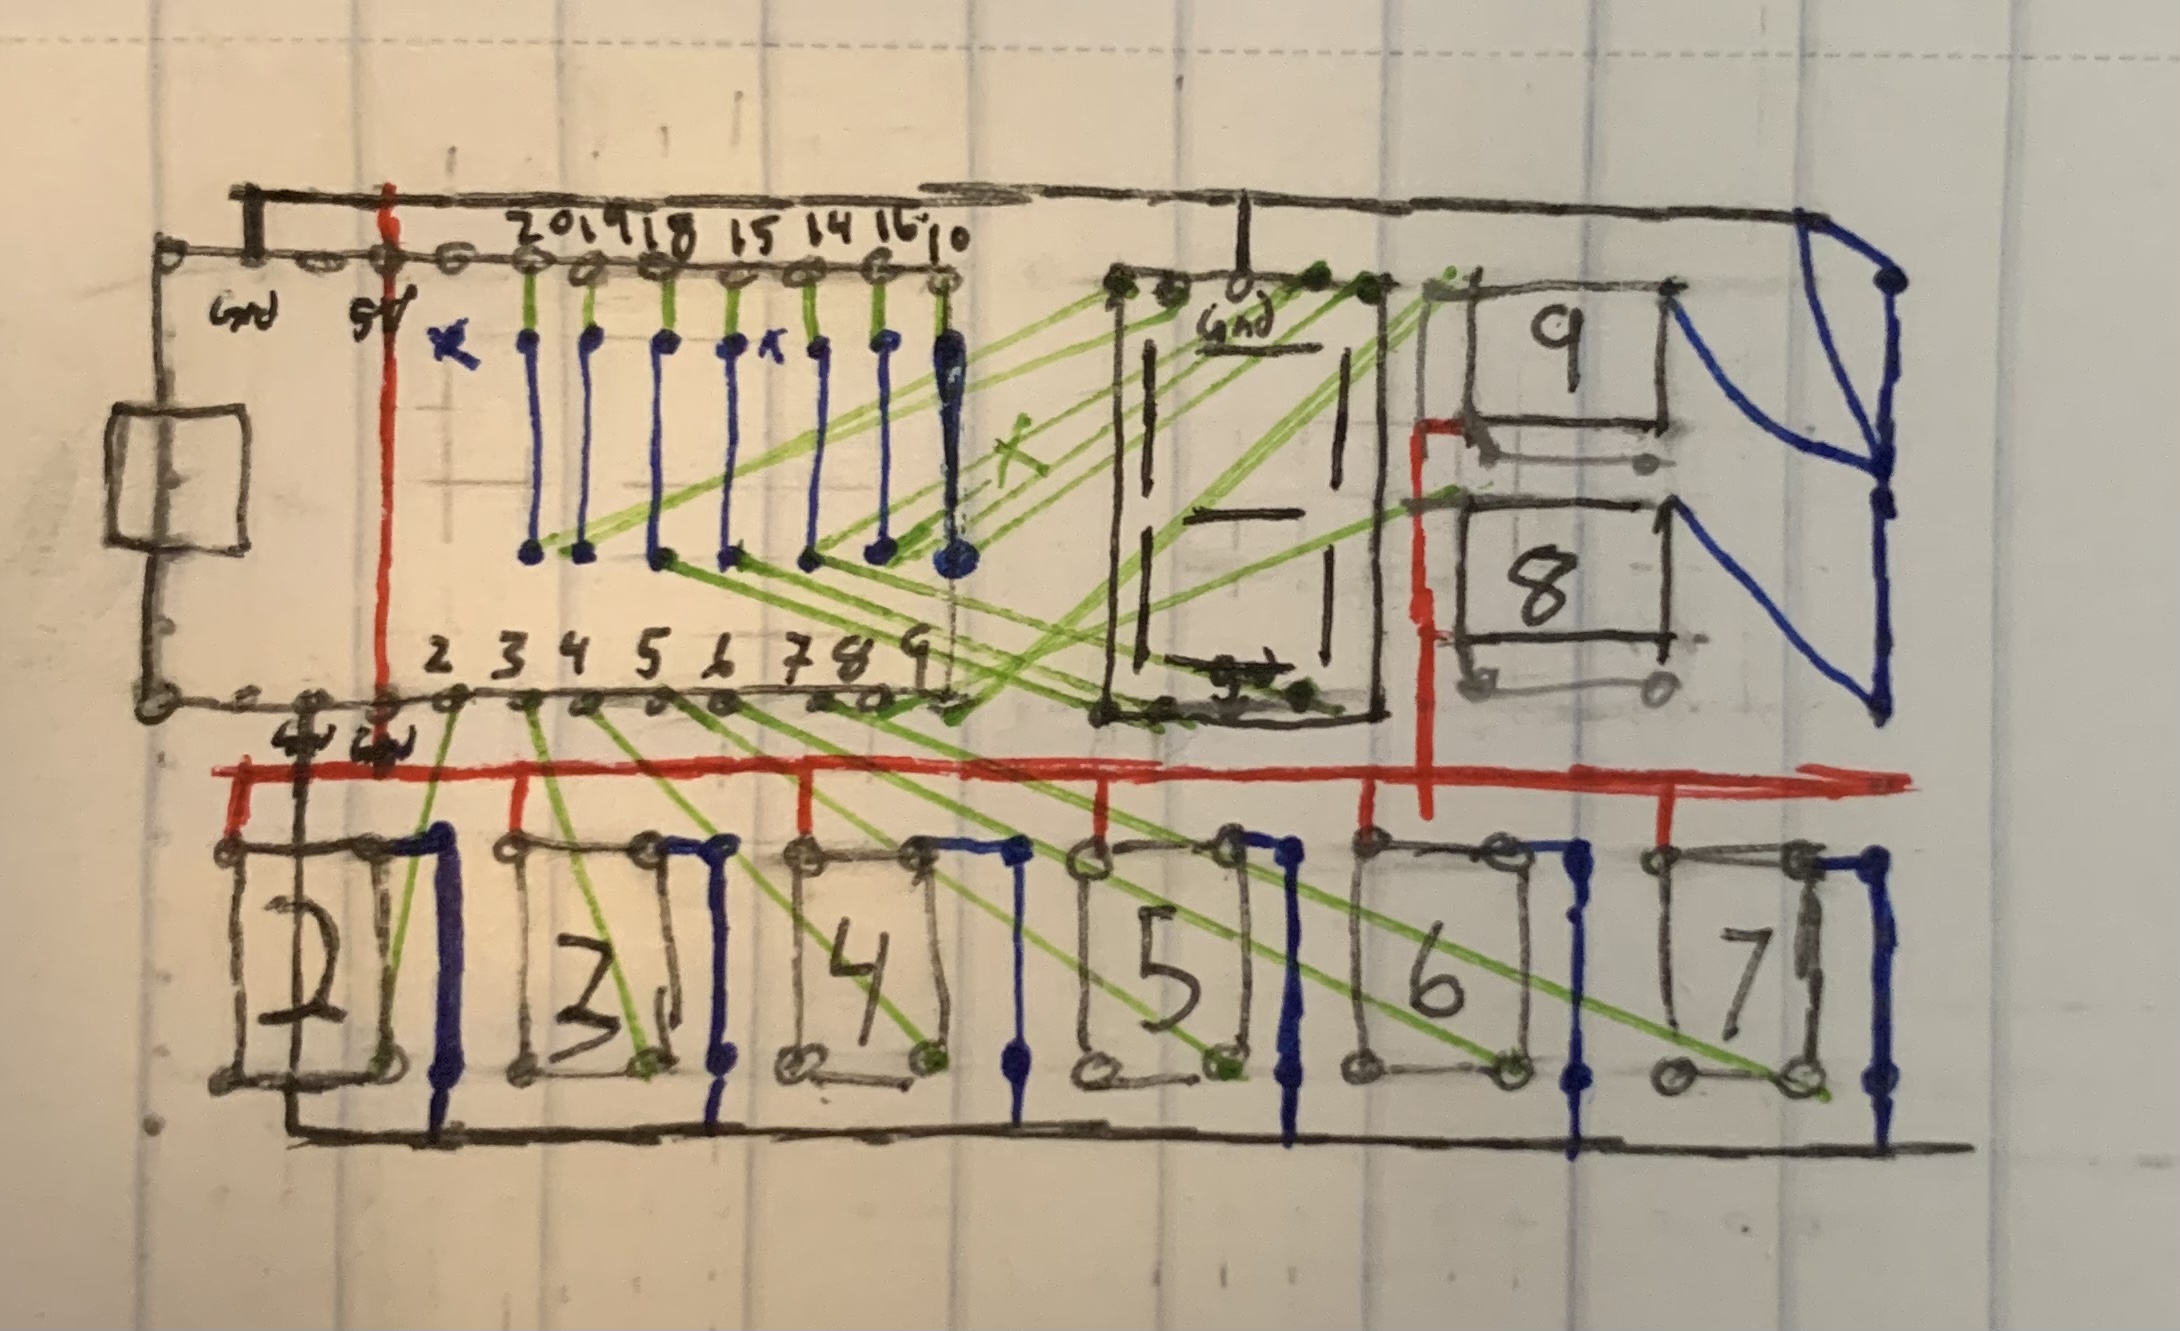 You can see that each of the numbers on the buttons corresponds with a pin. I would have used a program like TinkerCad to create the design, but they don't have the Pro Micro board.
Here it is fully assembled:
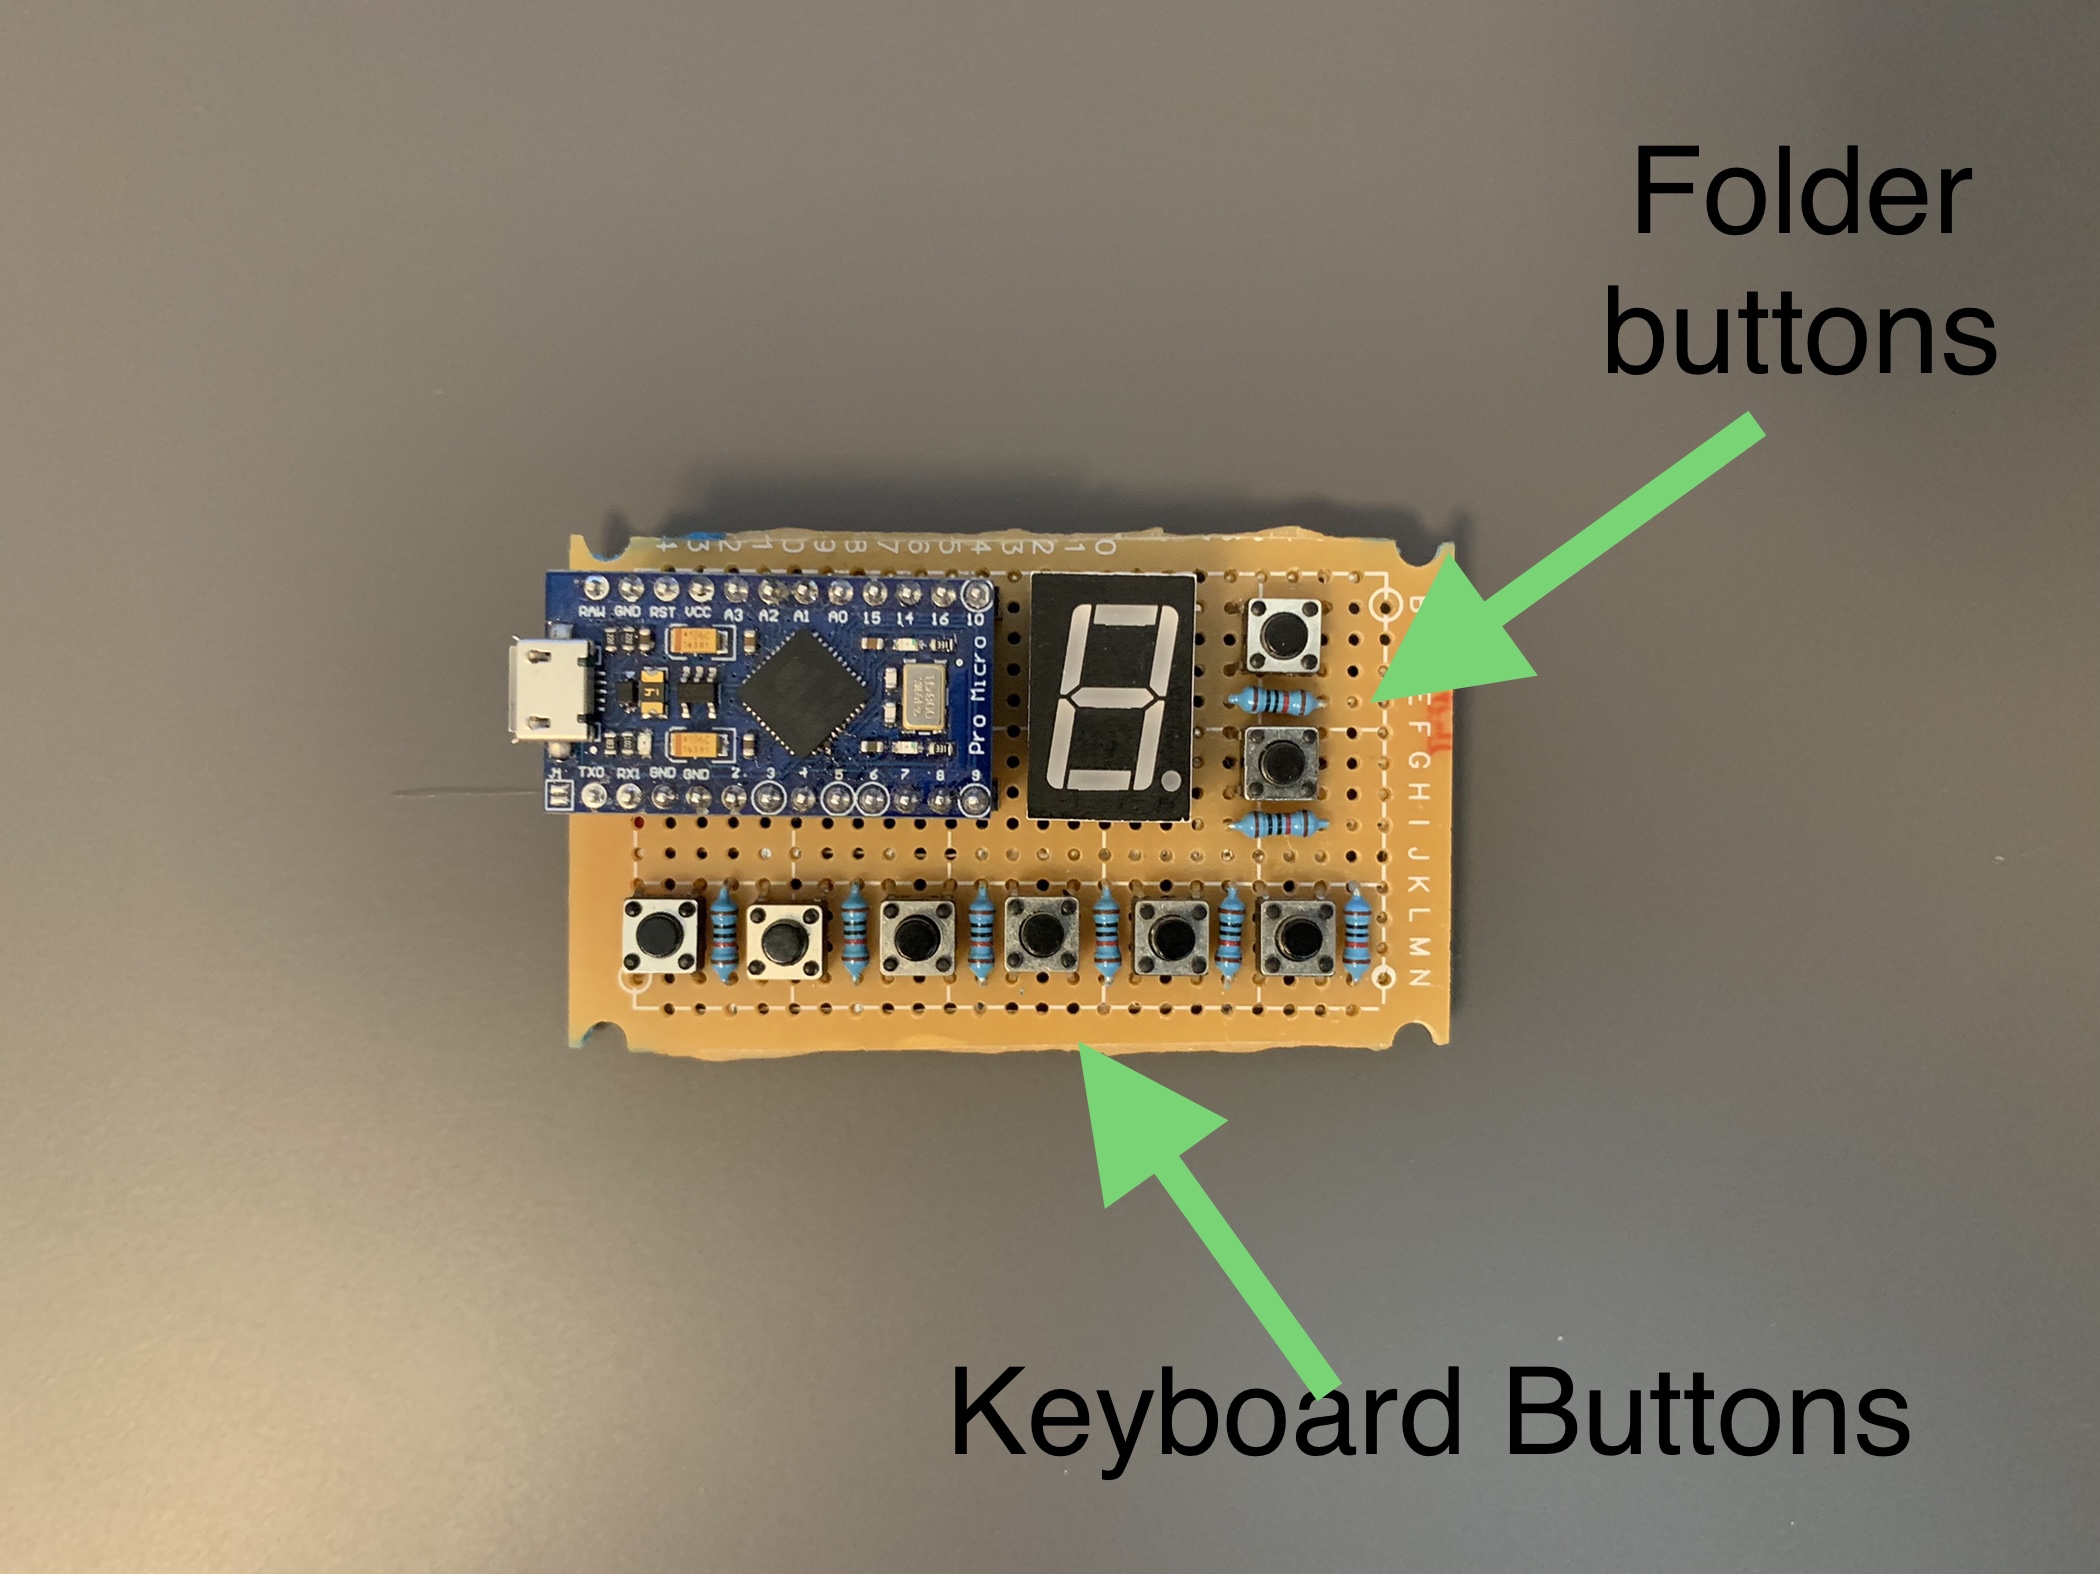
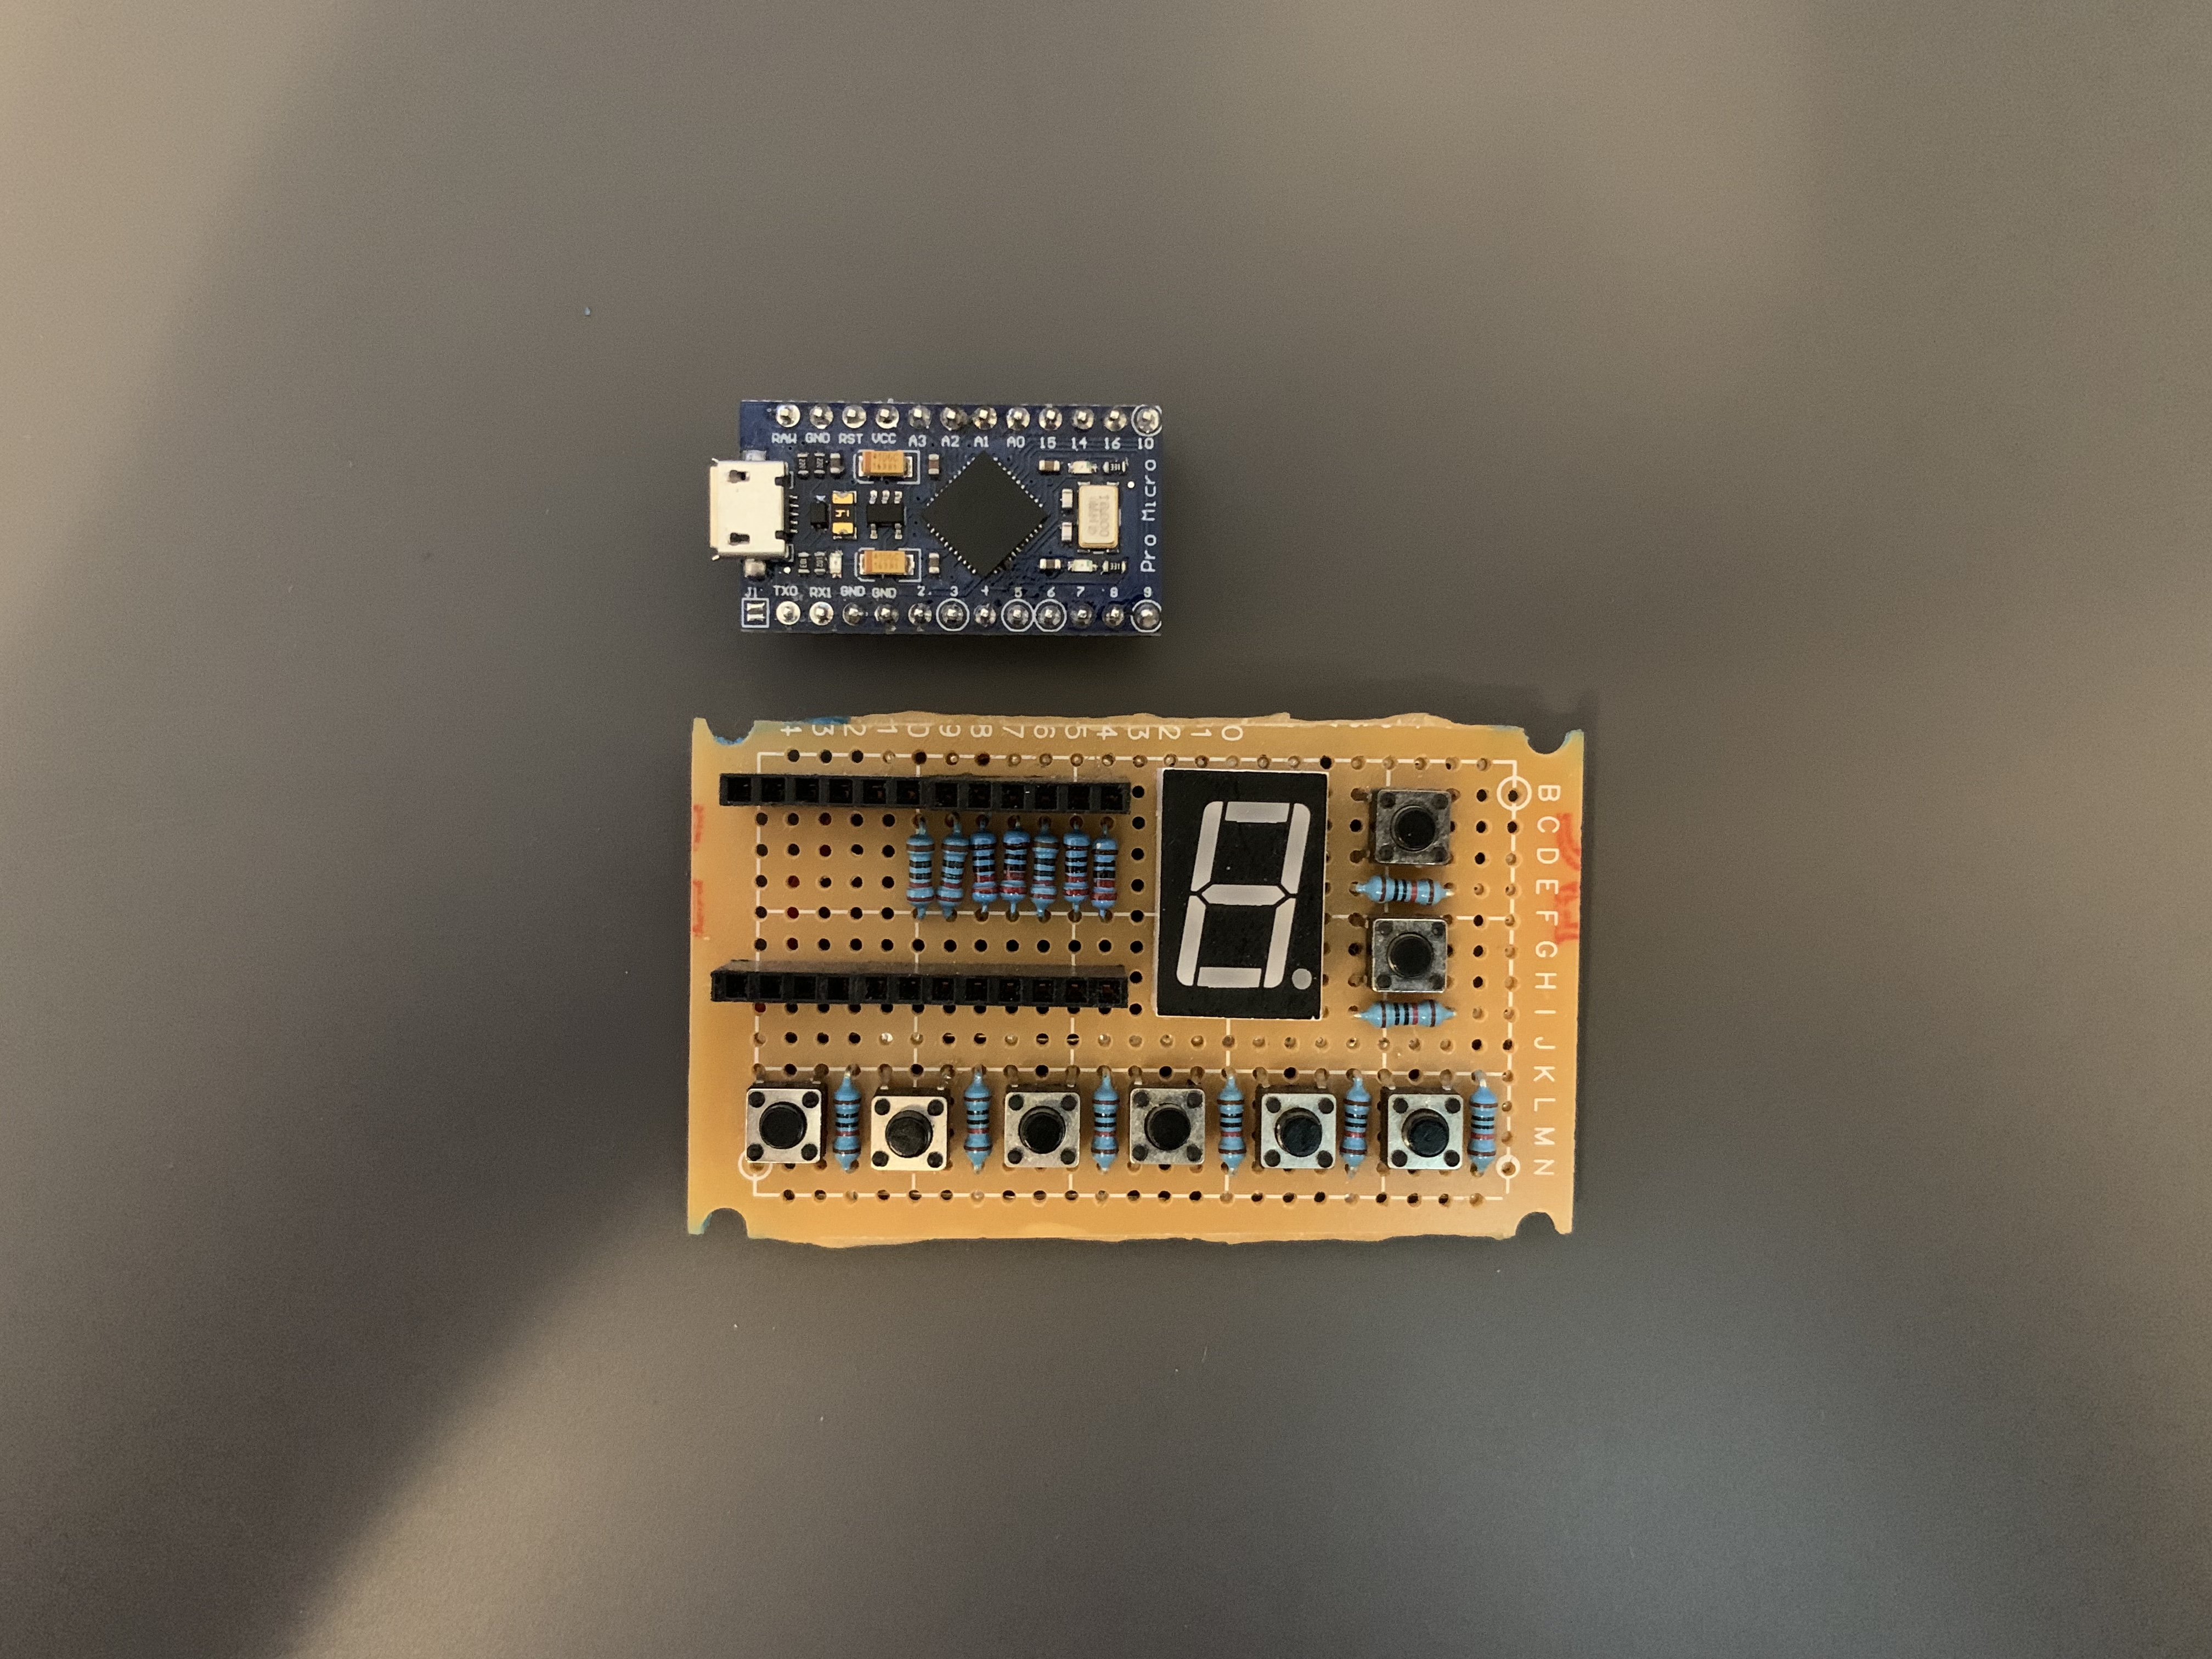
Here it is without the pro micro
Here is the back
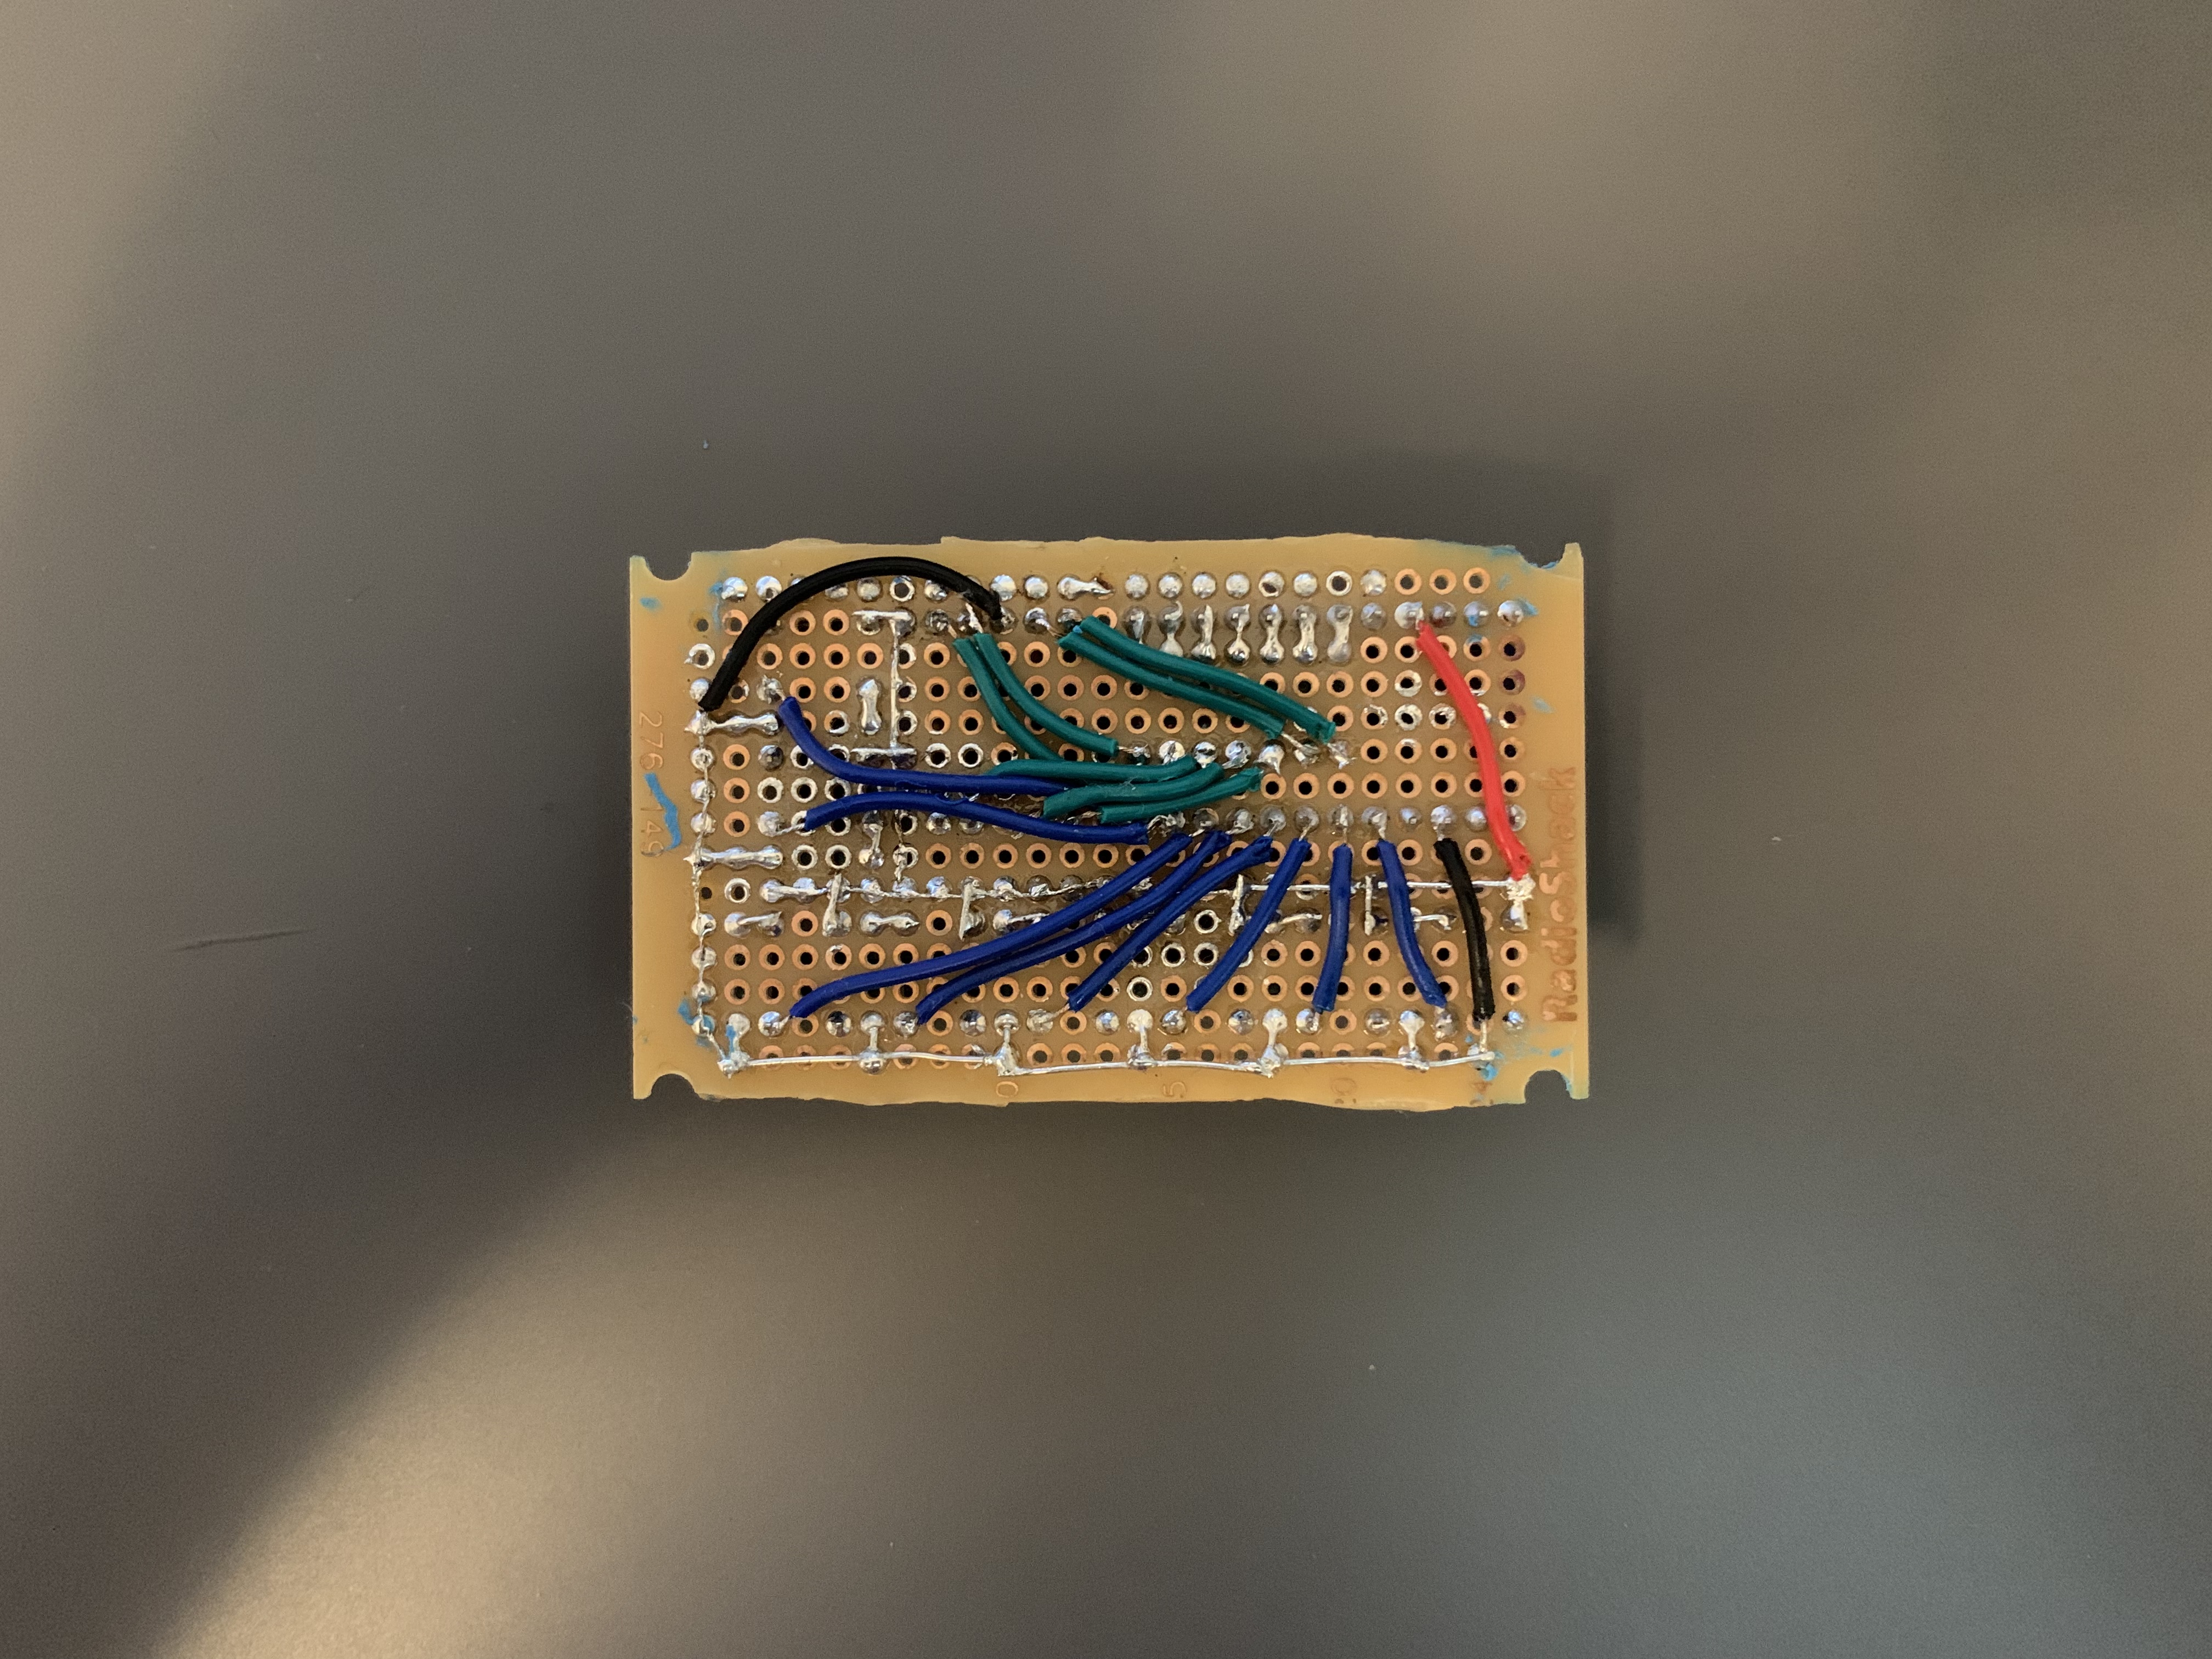 What a mess of wires! The light blue is Blue Tack that sticks to my angled Lego's under my monitor 😅 (A 3D printed version is coming!)
I have some plans to improve the placement listed in the "Future Plans" section of this article .
The Code
The code was relatively simple as I only needed to code the three things above. The display was super repetitive and could be reduced to one function (already noted in Future Plans). Assigning the buttons to the appropriate pins was also relative and easy (again a keyboard matrix would reduce the amount of pins). Coding the buttons to move folders was a little challenging as the button bounce would more than one folder at a time (a simple delay after the button press eliminated this).
The core of this code is the Keyboard library. Without the library, this project would have been very difficult to complete. This is a great library that gives me access to all the keys I need! I can also chain them to do complex things such as using the Spotlight feature on Mac. That can be seen in the example code linked below.
Here is the stripped down code that can be filled in (I did leave a section as an example):
Future Plans
I plan to enhance this project by designing and printing a "keyboard extension" that will attach to the left of my MX Keys keyboard, to bring the controls closer to my hands. I also plan on using a keyboard matrix to minimize the amount of pins taken up by the keyboard (this could allow for more keys). I have also looked at switching to cherry switches, for a more tactile feel.
